-
Who this checklist is for
-
Step 1: Count the real loads, not the rated watts
-
Step 2: Pick the battery voltage and chemistry early
-
Step 3: Size the MPPT controller by current and voltage
-
Step 4: Check Florida solar panel rules before promising a date
-
Step 5: Make a solar system to scale model before ordering parts
-
Step 6: Know whether a solar generator can be used while charging
-
Final notes and common mistakes
Who this checklist is for
I have been assembling off-grid solar systems for seven years. In my first year, 2017, I approved a design with everything looking right on paper: a 48V bank, an MPPT controller, and a 3000W inverter. It passed my review, it passed the client review, and it failed in real use. The battery bank was undersized for a two-day cloudy stretch, and the extra work cost roughly $3,200 in parts and reinstalls.
This checklist is the one I now run before any order. It works if you are a system integrator, an installer, or a serious DIYer building a 48V system. It assumes you have already picked your general approach and now need to avoid the mistakes that turn a good price into a bad total cost.
There are six steps. Step five is the one most people skip.
Step 1: Count the real loads, not the rated watts
Start with the loads. The simplest way to get this wrong is to add up the watts on the label and ignore how long each item actually runs. A 2W LED left on 24/7 is 48Wh per day. A 50W fridge compressor that runs for eight hours is 400Wh per day. The fridge matters more, even though it has a higher surge.
Write down each load, the running watts, the surge watts, and the estimated hours per day. Multiply watts by hours to get watt-hours. Add a 20% safety factor. This number becomes your daily energy target. If you cannot calculate this because the client has not decided yet, stop the design and come back when they have.
I see the same pattern again and again: buyers focus on solar panel wattage and completely miss the inverter surge rating. A fridge or a well pump can draw three to five times its running watts for a few seconds. If the inverter is sized for the running watts, it will trip on that first compressor start. I learned this on a small cabin system in 2019. It was not a $3,200 mistake, but it was an embarrassing callback.
Step 2: Pick the battery voltage and chemistry early
For a 48V system, our default is the Epever 48V 100Ah lithium battery. It is a LiFePO4 battery, which means about 5.12 kWh of usable energy, stable chemistry, and no venting requirement. The price was higher than lead-acid when I started, but the install labor and weight savings often make it the cheaper total cost by 2025.
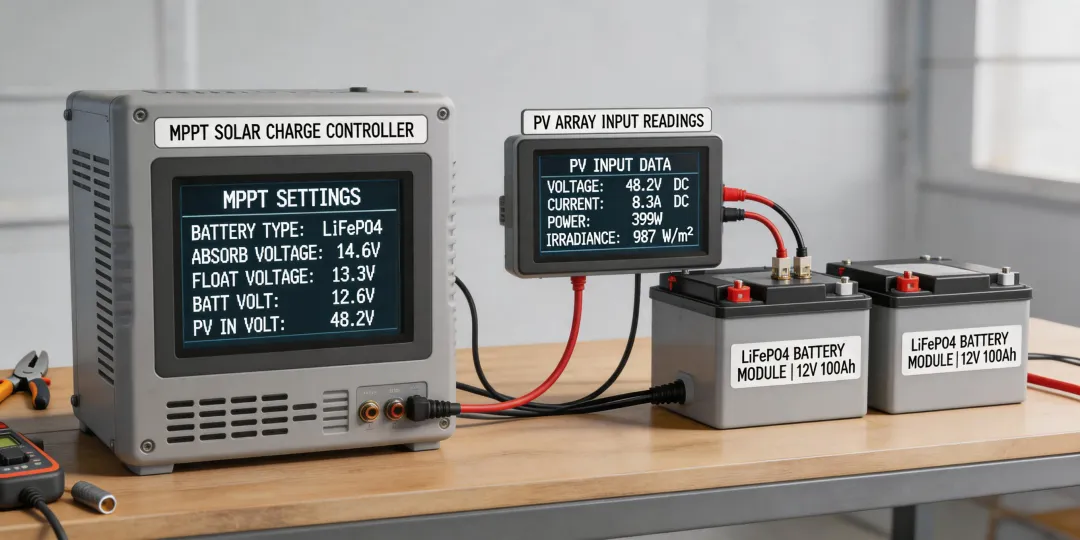
The part people overlook is the charge profile. LiFePO4 does not behave like lead-acid. The Epever 100A MPPT solar charge controller lets you change the battery type and set custom absorb and float voltages. If you leave it on the default sealed lead-acid profile, you will short-change the battery's capacity or overcharge it. Either way, someone will blame the battery.
I don't have hard data on how many of our support tickets come from wrong battery settings, but based on seven years of installs, my sense is that it is a large share. I should add that we now photograph the settings menu before commissioning. It has saved us twice.
Step 3: Size the MPPT controller by current and voltage
From the outside, MPPT sizing looks simple: get a controller with enough current. The reality has two parts.
The Epever 100A MPPT solar charge controller can output up to 100A into a 48V battery. That is roughly 5,700W of charging power at 57V, but the solar input voltage limit is a separate number. If the panel strings produce more voltage than the controller's maximum PV input voltage, the controller can be damaged. The exact limit depends on the version, so check the datasheet for the model you are installing. This is not a set-and-forget number.
Also remember that the 100A current rating is the battery-side output, not free permission to exceed the controller's PV power rating. The datasheet for the Epever 100A model will list a maximum PV array wattage. Stay below that, not just below the amp rating. Should mention: the wire gauge that worked with a 40A controller is not automatically enough for a 100A controller. I really should have written this in bold on our own checklist.
Step 4: Check Florida solar panel rules before promising a date
If the project is in Florida, the phrase 'solar panel Florida' brings up a lot more than panel efficiency. You have to deal with permits, utility interconnection, and wind loads. The electrical design is only part of the schedule.
As of Q1 2025, most Florida utilities require an interconnection agreement if you are connecting a solar system to the grid. For an off-grid system, the local building department still often wants to see a disconnect and battery location that meets code. Verify the current requirements at the utility's official site and the county building department. They change faster than most websites reflect.
This was accurate as of Q4 2024: our office paid $150–$450 in permit fees for standard residential battery projects in the Florida counties where we worked. But I might be misremembering exact amounts, so don't quote me on the number. The point is that permitting is not free, and it is not automatic. Also, according to NFPA 70, the National Electrical Code, battery and PV circuits must have a disconnecting means. Your local inspector decides the exact placement, and they will look for it.
Step 5: Make a solar system to scale model before ordering parts
This is the step that feels childish. It is not.
A solar system to scale model means drawing every physical component on graph paper or in a simple free layout tool, using the real dimensions. Draw each panel as a rectangle at the actual length and width. Draw the battery rack footprint, including the space required for the battery terminals and the busbar. Draw the controller's wall area and the minimum clearance for wiring and airflow. If it does not fit in the drawing, it will not fit in the mechanical room or on the roof.
Why do I make this a mandatory step? Because in September 2022, I ordered eight panels for a shed roof that was too small on the south side. The string sizing calculator said the roof area was enough. The reality was different: the south face was 14 feet wide, not the 16 feet the street-view estimate suggested. We caught the problem in the yard when we laid the actual panels out. It cost us a two-week delay and $2,100 in racking rework. A paper scale model would have shown it in about twenty minutes.
In the past 18 months, we have caught 47 potential issues with this scale-model step. That number sounds high, but it includes small things like a battery terminal pointed at a wall stud and a vent fan that would have blocked the controller's airflow. Those are exactly the mistakes that never show up on an electrical drawing.
Step 6: Know whether a solar generator can be used while charging
The most frequent question I get is this: 'Can a solar generator be used while charging?'
Short answer: yes, for most units, if they are designed with pass-through capability. When a solar generator is charging from solar and powering a load at the same time, the load is served first from the solar input. Any extra goes into the battery. If the load is bigger than what the solar input and the battery can supply together, the unit will eventually shut down. Pass-through is not a workaround for a bad load calculation.
If you are building a modular system with an Epever 100A MPPT solar charge controller, a separate inverter, and a 48V lithium battery, 'use while charging' is normal. The controller charges the battery from the solar array while the inverter draws from the same battery busbar. The one mistake I see in review is wiring an inverter to the controller's load terminals. That terminal is meant for small DC loads, not a large inverter. Use a busbar rated for the battery current and connect the inverter directly to the battery through the busbar and fuse.
Final notes and common mistakes
Here is a short list of things I still catch in reviews:
- Battery settings set to 'lithium' but absorb voltage not updated to the battery manufacturer's specification.
- No battery disconnect in the DC circuit, which does not pass a basic inspection in most jurisdictions.
- Ground electrode missing or incorrectly bonded to the battery enclosure.
- Inverter connected to the controller's load output instead of the battery busbar.
A few years ago, 48V lithium was considered a premium choice for special projects. In 2025, it is close to the default for an off-grid home. The fundamentals have not changed: correct voltage, correct wire, correct mechanical clearance. But the execution has transformed because the Epever 48V 100Ah lithium battery and the Epever 100A MPPT solar charge controller make it practical to build a clean, modular system without the weight and maintenance of lead-acid.
If you take one thing from this article, make it step five. A solar system to scale model sounds like a school project, but it is the cheapest mistake-catcher I have found. Use it. Oh, and label the disconnect before the inspector asks. I always intend to, and I still forget.