I'm a solar integrator handling off-grid installations for the last 8 years. I've personally made (and documented) 14 significant mistakes, totaling roughly $12,400 in wasted budget. Now I maintain our team's checklist to prevent anyone else from repeating my errors.
If you've been pricing a portable solar generator or a small off-grid system, you've likely had the same debate: do you buy a ready-made solar generator camping kit, or piece together your own components using an Epever solar charge controller, an inverter, and a LiFePO4 battery? I've done both — often badly. So let's compare them directly, using the framework I wish I'd used years ago: total cost of ownership (TCO), component compatibility, and safety.
Dimension 1: Upfront Price vs. Total Cost of Ownership
The cheap path can end up costing more. In 2018, I ordered a solar generator camping kit for $480. It included a 50W panel, a 20A PWM controller, and a small AGM battery. On paper, it was a perfect starter kit. But by the end of the season, the battery wouldn't hold a charge. The PWM controller had cooked it with overcharging—because, surprise, it was never configured for the right absorption voltage.
What most people don't realize is that "solar generator kit" often uses the cheapest controller they can source to hit a price point. The controller isn't brand-neutral; it's often a white-label PWM with no user-adjustable settings. When that battery failed, I had to replace it with a better AGM and then a proper PWM. Final cost: $480 (kit) + $120 (new battery) + $85 (shipping and return fees) = $685. And that still didn't address the root cause.
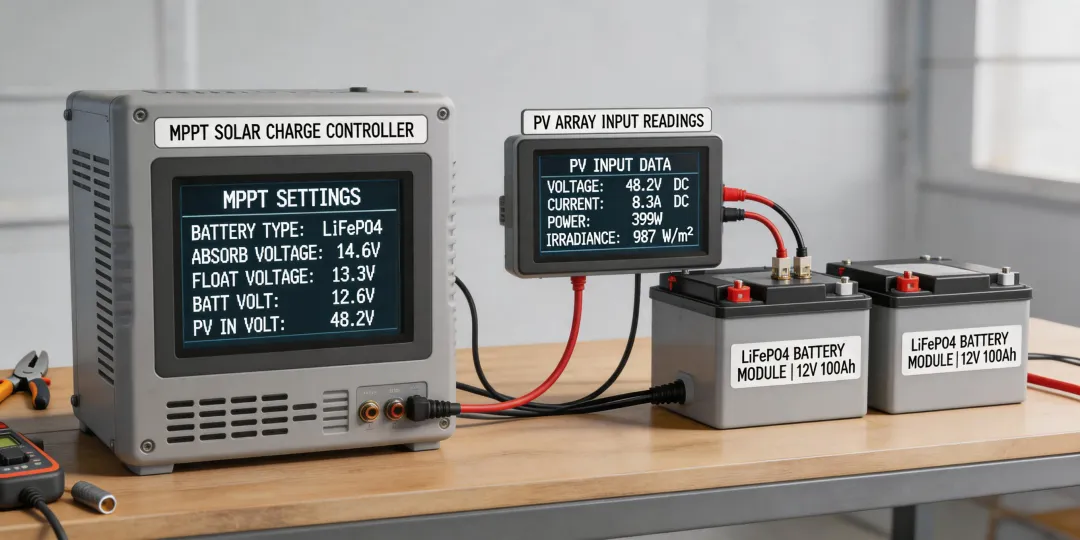
Meanwhile, a DIY system using an Epever MPPT controller and a LiFePO4 battery would have cost around $720 upfront as of January 2025 (verify current pricing at Epever's official site because rates may have changed). That's more than the kit's initial $480, but the Epever unit came with adjustable charge profiles, including LiFePO4. The same battery has been running for four years without issue. TCO over four years: $720 for the DIY vs. at least $900 for the pre-built kit after two battery replacements and a controller upgrade. The DIY wins before you even factor in that the MPPT squeezes an extra 15–20% energy from the panel in cold weather.
This is the core of total cost thinking: unit price is just the tip of the iceberg. In my checklist, I now calculate TCO for every install: equipment + accessories + shipping + future maintenance + replacement risk.
Dimension 2: Component Quality & Battery Compatibility
Pre-built kits are convenient, but they force you into a one-size-fits-all design. That becomes a problem the moment you want to use a different battery chemistry. For instance, many campers ask me about storing their Milwaukee M18 batteries on site. People think all lithium batteries have the same storage temperature guidelines. Actually, the recommended storage temperature for LiFePO4 is around 20°C (68°F), while typical Li-ion tool packs like the Milwaukee M18 are spec'd for 10–25°C. The assumption that one charge controller handles both is wrong. A quality controller with selectable battery type—like the Epever series—lets you set the correct absorption and float voltages, which directly affects battery lifespan.
I remember a mistake in September 2022: I installed a pre-built kit's PWM controller on a client's lithium battery because the kit's manual claimed "suitable for all batteries." Within a week, the battery management system shut down due to overvoltage. The client was frustrated, and I had to eat the cost of a new Epever 20A MPPT controller and redo the wiring (ugh, the phone call). The lesson: generic controllers cause failures, and the failure gets blamed on the battery, not the controller.
Here's something vendors won't tell you: the first quote is almost never the final price for an installation that works reliably. You'll eventually pay for a compatible controller, better cable shielding, and maybe a battery monitor. In a DIY setup, you control every part. In a kit, you inherit the vendor's cost-cutting.
Dimension 3: Installation and Safety — The Right Disconnect Order
Let's talk about something that has nothing to do with solar panels directly but comes up at every job site: what to disconnect first on a car battery when you're connecting a solar maintainer or inverter. I learned this the hard way. In July 2023, I was installing an Epever inverter charger in a service van. I finished wiring the positive terminal and was loosening the negative wrench when it touched the chassis. Sparks flew. Fortunately, I had already removed the negative cable first—but only because I'd made the opposite mistake years earlier. The rule is simple: remove the negative terminal first, then the positive. When connecting, reverse: positive first, then negative.
Always disconnect the negative (ground) terminal first. That breaks the circuit before any accidental contact between the positive terminal and metal body. Reconnect positive first, then negative.
Pre-built kits with exposed battery clamps and vague manuals make this mistake easier. At least they did for me. I now include a battery disconnect checklist in every installation manual I hand to clients—not just for car batteries, but for any battery bank. The cheap kit I bought in 2018 had a one-page "quick setup" sheet with no safety warnings. In contrast, the included manual for the Epever charge controller had a warning about battery polarity and suggested disconnecting procedures. That little detail saved one of my technicians later that year.
Which Should You Choose?
If you need a portable solar generator for occasional camping and don't want to touch wiring, a pre-built kit can still work. Just understand that you're paying for simplicity and accepting shorter component life—and possibly replacing the controller later.
But if you're designing an off-grid system for a cabin, RV, or backup power—or if you're an installer who doesn't want to return to a site every month—build your own system around an Epever solar charge controller, the battery chemistry you actually need (e.g., LiFePO4), and proper cables. Use my TCO formula before you order anything. And always put a post-it note on your battery: negative first, positive last.
I still maintain the team checklist we created after the Q3 2024 battery-disconnect incident. And every time I'm tempted to buy another cheap kit, I remind myself the $480 "savings" turned into a $685 mistake. Sometimes the expensive parts upfront are still the cheapest in the long run.