-
There's no 'best EPEVER setup'—there's the setup that matches your system
-
How to figure out your scenario before touching the controller
-
Scenario A: 12V van with an EPEVER 30A MPPT
-
Scenario B: Off-grid cabin with separate controller and inverter
-
Scenario C: E-bike charging and the EV station question
-
How to tell which scenario you're in
There's no 'best EPEVER setup'—there's the setup that matches your system
If you search for “epever mppt solar charge controller setup”, you'll find forum threads that start with “just set it like this” and end with three people arguing. I get why. I started installing this gear in 2017, and I made the mistake of copying the first wiring diagram I found.
Seven years in, I've personally made—and documented—fourteen significant mistakes. Total wasted budget: around $4,800. That's not including the embarrassment. Now I maintain our team's pre-install checklist, and in the past 18 months we've caught 47 potential errors before they became fires, dead batteries, or angry phone calls.
So here's the honest version: there's no universal answer. EPEVER makes great MPPT controllers, but the right model and the right setup depend on which of these three scenarios you're in.
How to figure out your scenario before touching the controller
Don't start with the controller. Start with the battery bank, the inverter, and the loads. That classification alone would have saved me $1,700 in my first year.
- Scenario A – 12V van/RV/mini-system: One 12V battery bank, around 400W of panels, an EPEVER 30A MPPT, and an inverter under 1000W.
- Scenario B – Off-grid cabin or bigger system: 24V or 48V bank, more than 500W of panels, a separate solar controller and inverter, like an EPEVER MPPT paired with a Midnight Solar inverter (or similar).
- Scenario C – Edge case charging: Non-standard loads, e-bike charging from solar, and weird questions like “can you charge ebike at ev charging station”.
If you're not sure yet, the last section gives you a quick decision rule. First, let me walk through each one.
Scenario A: 12V van with an EPEVER 30A MPPT
This is where most people start, and where I saw the worst damage. In my first year (2017), I connected a 900W inverter to the load output terminals on an EPEVER charge controller because it was easier than running a proper fused cable to the battery. It worked for a few minutes. Then the inverter called for high current and the controller reset in a loop. I watched a client's fridge shut down and then restart, shut down and restart. That mistake cost about $260 in replacement plus a one-week delay.
Here's what I now put on every 12V checklist:
- Wire the inverter directly to the battery with its own fuse or breaker. The controller's load output is for small DC loads, not power-hungry AC loads.
- Do the EPEVER MPPT solar charge controller setup only after the battery is connected and the panel is covered. It sounds basic, but resetting the controller with sparking wires is how I learned to respect it.
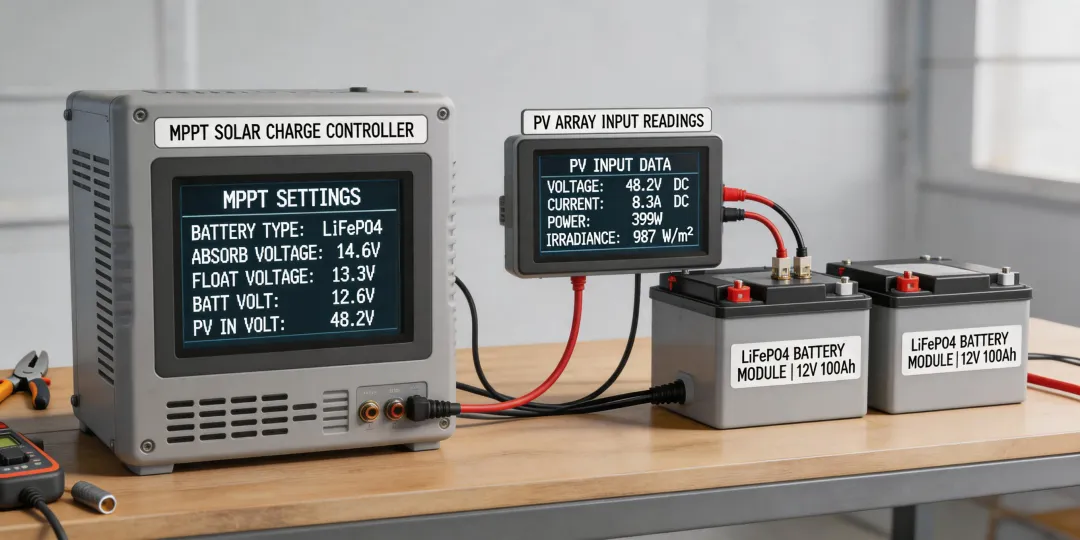
- Set the battery chemistry to match your battery. For a 12V LiFePO4 battery, EPEVER has a LiFePO4 preset; if you use custom values, follow your BMS specifications. I learned this in 2017 and things may have evolved since then, so verify with the current manual before trusting me.
One counterintuitive thing: a bigger controller is not always better. I've seen people install a 100A MPPT on a 12V system with a 400W panel. You're not gaining future proofing. You're paying for idle consumption and a more expensive remote screen. The EPEVER 30A MPPT matches that size of system well. That's not a compromise. It's the correct amount of circuit board.
Scenario B: Off-grid cabin with separate controller and inverter
Once you move to a bigger 24V/48V battery bank, the game changes. Now you're choosing a solar controller and inverter as a pair. I've also had clients ask me to pair an EPEVER MPPT with a Midnight Solar inverter, and it can work well if you respect the voltage language.
The mistake I see most often? The controller and inverter fighting over battery voltage set points. One is trying to hold absorption at 28.8V, the other is cutting off at 26.4V, and the homeowner sees a warning light that shouldn't exist. It's not a bad product. It's a bad handshake.
- Set the inverter's DC input cutoff and low-voltage disconnect to match your battery system, not the controller's default.
- Put the battery temperature sensor on the controller if you're using lead-acid. With lithium, leave it out unless the BMS says otherwise.
- Don't run the inverter's on/off remotely through the controller's load terminal when the inverter draws a large relay coil current. Use a contactor if you really need remote shutdown.
Let me rephrase that last one: the load terminal is a signal, not a power switch for things above a few amps.
Here's where the “quality is brand” thing comes in. I once tested two different installs side by side—same EPEVER controller, same panels, same battery type. One install had clean terminal torque and proper wire colors. The other had wire ends touching in the junction box. The client didn't know the technical details, but they knew which one “felt” safer. When we fixed the sloppy one, the client's confidence went up. The $63 in materials changed how they perceived the whole company. That's not being picky. That's the brand.
Also—actual search question I want to address clearly: a “midnight solar inverter” is sometimes the wrong phrase, but if you're comparing one, check whether its charging profile can be disabled or configured to match the EPEVER controller. You don't want two chargers fighting all day and shortening the battery life.
Scenario C: E-bike charging and the EV station question
I get a strange one in my logs: “can you charge ebike at ev charging station”. The short answer is usually no. A standard J1772 EV station needs to talk to a vehicle before it sends power. Your e-bike charger doesn't speak that language, so the station stays locked.
For solar-based e-bike charging, the setup is a smaller version of Scenario B: solar panel → solar controller → battery bank → inverter → e-bike charger. Here's the thing people ignore: your e-bike charger may only need 200W or 300W. You don't need a 2000W inverter for that. A bigger inverter has higher idle draw and will drain your battery bank at night while the e-bike sits unplugged.
If you're at an RV park and there's a standard 120V outlet on the EV charger pedestal, then yes, charge your e-bike there. But “can you charge ebike at ev charging station” is not the same as “can I plug my standard charger into this station”. Check the pedestal. If it only has a J1772 cable, bring a portable power station or a small inverter-based setup.
How to tell which scenario you're in
Here's the decision guide I use when someone asks me for an EPEVER setup recommendation:
- What's your nominal battery voltage? 12V → Scenario A. 24V or 48V → Scenario B.
- What's the biggest continuous AC load? Under 1000W → Scenario A classes. Over 1500W → Scenario B.
- Are you integrating with a public EV charger or utility quick connect? Then you're in Scenario C and need to solve that connection first before touching solar.
I know the internet wants a simple answer like “buy this and set it to this”. But I've seen too many $1,200 orders die because the buyer didn't match the controller size, the battery voltage, and the inverter's settings. It's not about being smart. It's about having a checklist and following it.
Take it from someone who burned $4,800 learning the hard way. The correct EPEVER setup is the one that matches your bank, your load, and your actual charging source—not the one that sounds most impressive on a forum. As of early 2025, EPEVER still updates manuals and firmware, so verify current specs before locking anything in.